
Tiles are a very popular method of flooring option for many. In this article, we will take a look at how to install tiles properly.
A very clean and at the same time, precise, tile installation is a lot easier than you might be predisposed to think. With a bit of planning and the step-by-step guide provided here, you can do it yourself without too many hiccups and problems.
Prepare the Surface to Install Tiles Properly
This is the first thing that has to be done in the steps to install tiles. Make sure that the surfaces that you are working with are clean, smooth and also dry. This will ensure that you get the best possible results. You should also ideally take some time and dedicate it to repairing, patching and also levelling any areas that are damaged or uneven. Also, make sure that the surface that you are working with is strong structurally and that the areas that you will be working with are free of wax, soap scum and also grease.
You should also be prepared to remove any moldings, trim or appliances that may disrupt the tile installation process. Make sure that you have checked the door jams in order to make sure that tile has clearance when it is installed beneath it. If you can identify and fix these potential complications, the whole tile installation process will go about much more smoothly. In those cases, it’s very important to follow the process properly otherwise it will be in vain.
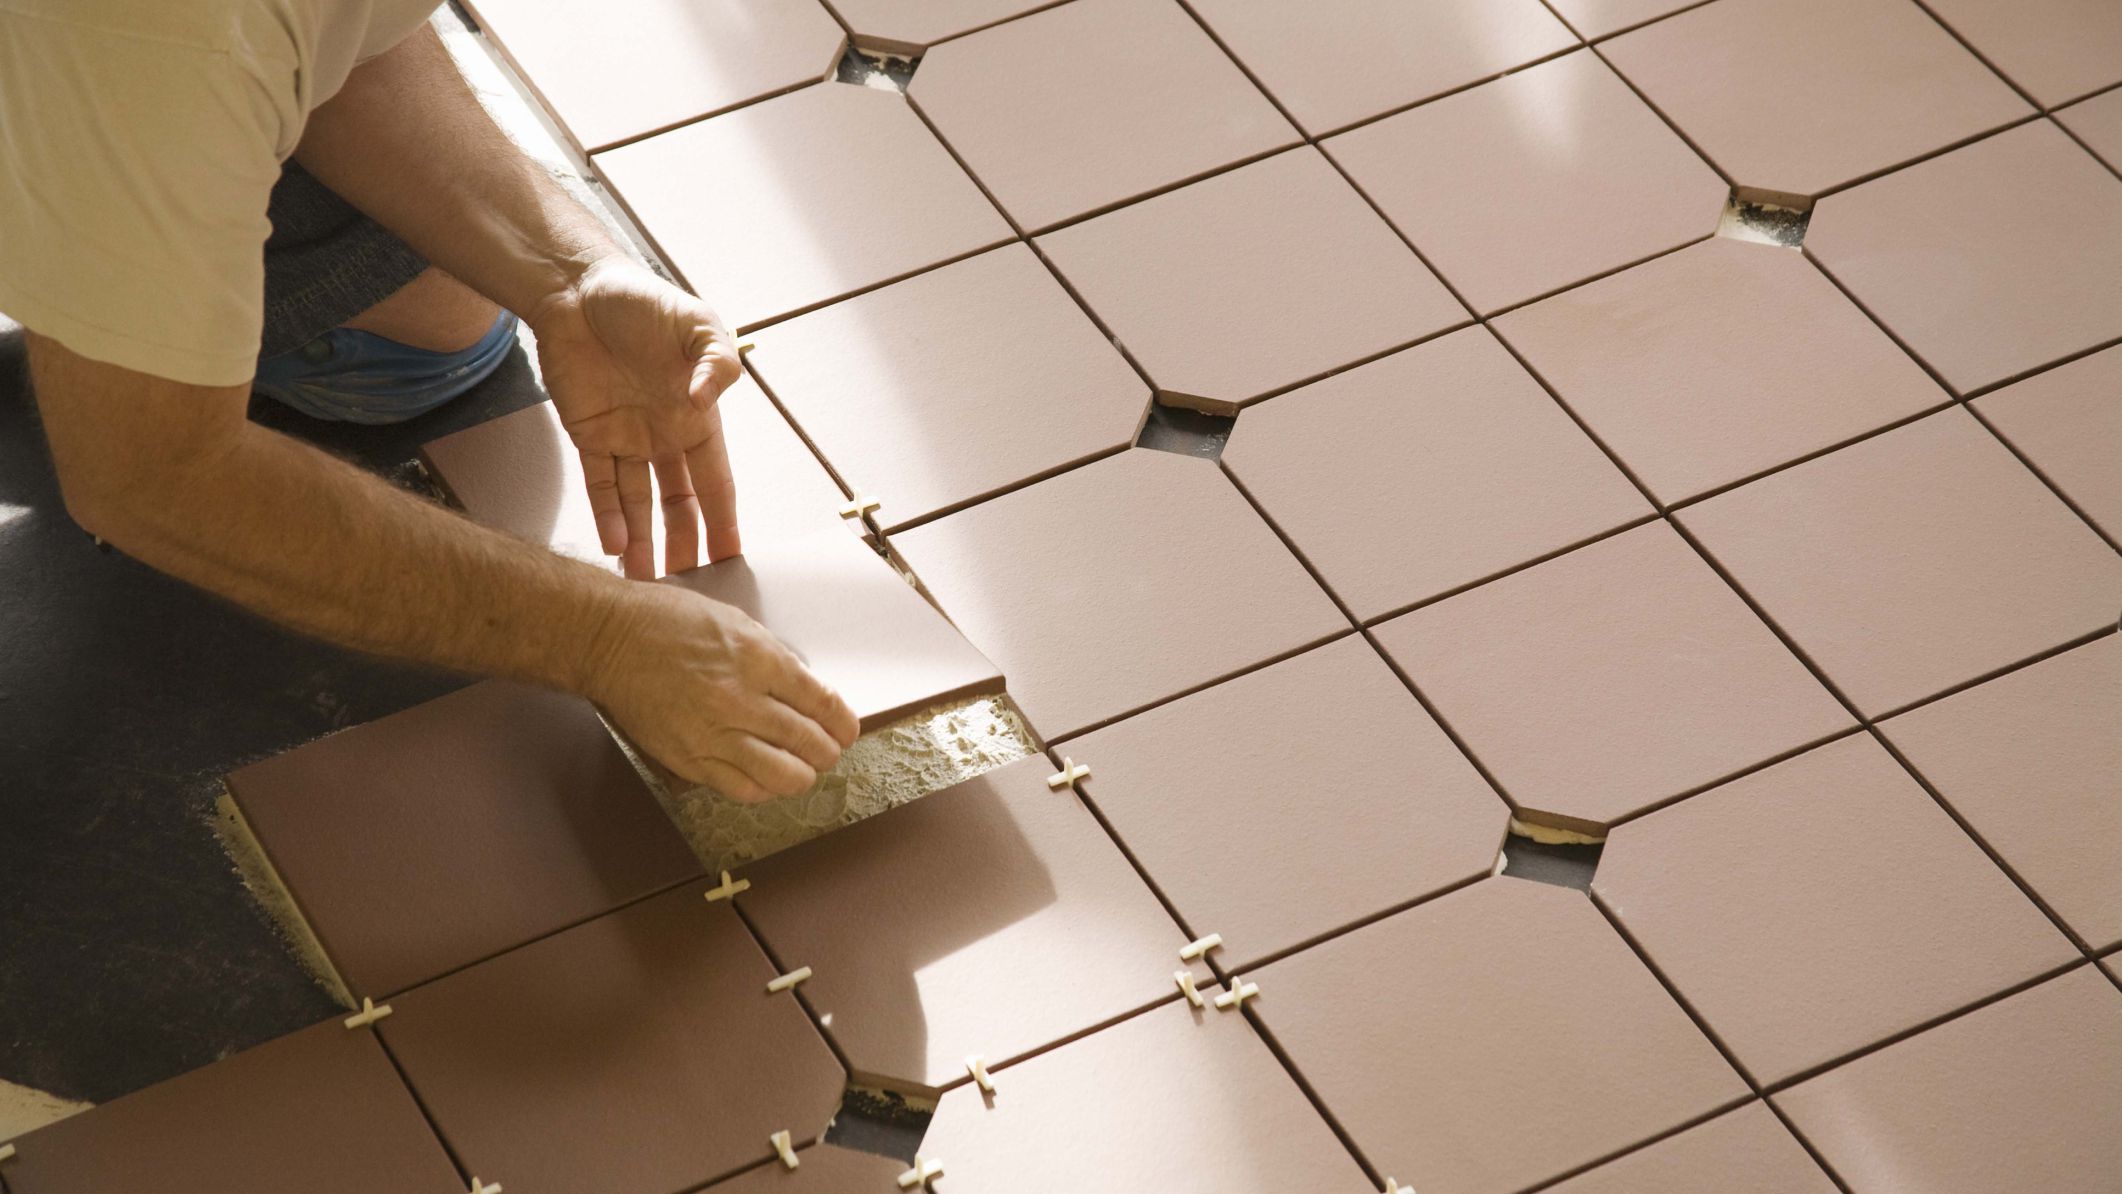
Begin your layout
In order for this process to be effective, you should start by marking the center point of each of the walls that occupy the room. After this first step has been completed, snap chalk lines in between the points which are the centers of the opposite walls in order to specifically identify the center of the room. You should also make any adjustments that are necessary in order to ensure that the intersection you have made creates squares that are perfect.
After this, you should start at the center that you have identified and lay a row of loose tiles along the center in the two directions. Make sure that you use tile spacers in order to get even and uniform joints. Once you have reached the walls, the tiles will need to be cut in order to ensure a proper fit. If the cuts needed are smaller than half of a tile, you can adjust the center line by snapping a new line a half-tile size closer to the wall. It might be important to repeat this step alongside the intersecting center line for a design that is very precise.
Starting at the center point, lay a row of loose tiles along the center lines in both directions, using tile spacers as you go for even, uniform joints. Once you reach the walls, you’ll need to cut tiles for a proper fit. If the cuts needed are smaller than half of a tile, you can adjust the center line by snapping a new line a half-tile size closer to the wall. If necessary, repeat this step along the intersecting center line for a precise design.
Apply the Adhesive
Whenever you use adhesives, be mindful of the fact that when you mix remember that the adhesive has to be used within 30 minutes of the mix. Use the trowel type that is recommended on the packaging of the adhesive and use the flat side of it and spread about ¼” coat on the surface, without covering the guidelines of one grid area. Any mistake in this step and you won’t be able to install your tiles properly. So It’s necessary to follow the steps in the overall process.
After the above has been completed, the trowel should be held at an angle of 45 degrees and used to comb adhesive into ridges that are standing. When the time comes to get rid of the extra adhesive, ideally you should leave behind a uniform and ridged setting set for whatever tile you are planning on installing. Another thing to also always remember about adhesives is to not spread more than be spread in about 15 minutes.
Cut the tiles depending on how you need them
After the steps above have been completed, we now come to the part of cutting tiles. You should start by carefully making measured cuts-to-be by using a pencil or a felt-tip pen on the surface of the tile. A tile cutter can be used in order to achieve straight or lines that are diagonal. If you use a nipper, you can make masterful cuts, chipping at the small pieces in order to get the best possible results.
When making curved cuts, a rod saw would seem like the ideal choice. After the cuts have been made, make sure to smooth out sharp edges.
Set Your Tiles
Start with installing tiles in the center of the room, do so one grid at a time. Finish each grid before you move on to the next. Use a twisting motion to set the tiles one at a time. Leave the perimeter tiles for the end.
Once the grid has been installed completely, tap the tiles by using a rubber mallet to ensure a solid bond and a level plane. Finally, let your tiles rest for 24 hours before you walk on them.
Grouting Joints
The last step is called grouting the joints and this consolidates the floor into one mass.
Make sure to read the instructions of the grout packaging before using it. As you begin removing the tile spacers and you start spreading the grout on the tile surface, make use of a rubber grout or a squeegee in order to make sure it goes down to the joints. Remove excess grout immediately. Let the grout sit for around 20 minutes. Afterwards use a damp sponge to clean up any leftover residue.
